So, I decided to make a C-64T a long time ago and slowly started to gather suitable components over the years.
For a long time, I had everything except the case. I kept my eyes open for good ones, but somehow they all seemed a bit sub-par. Finally my father decided to upgrade his age old Pentium III, and when he gave me the old box, I quite soon realised it would be great for this mod.
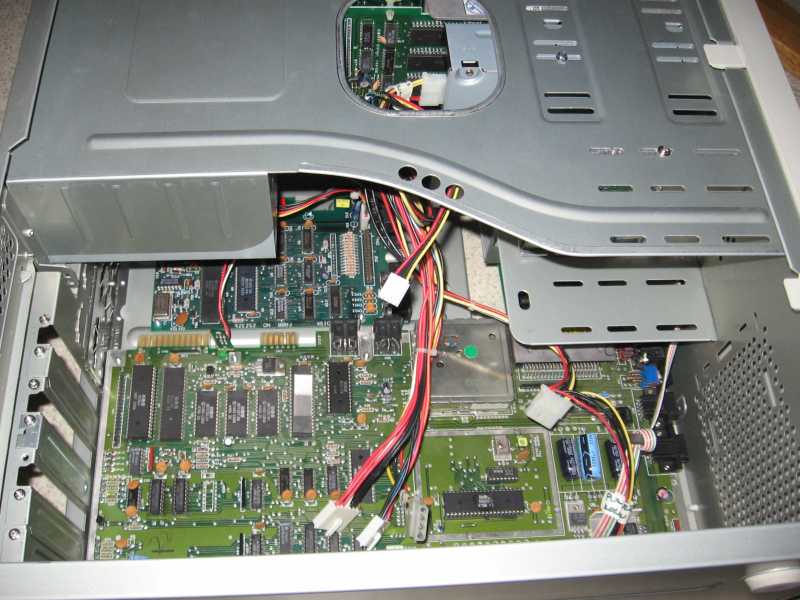
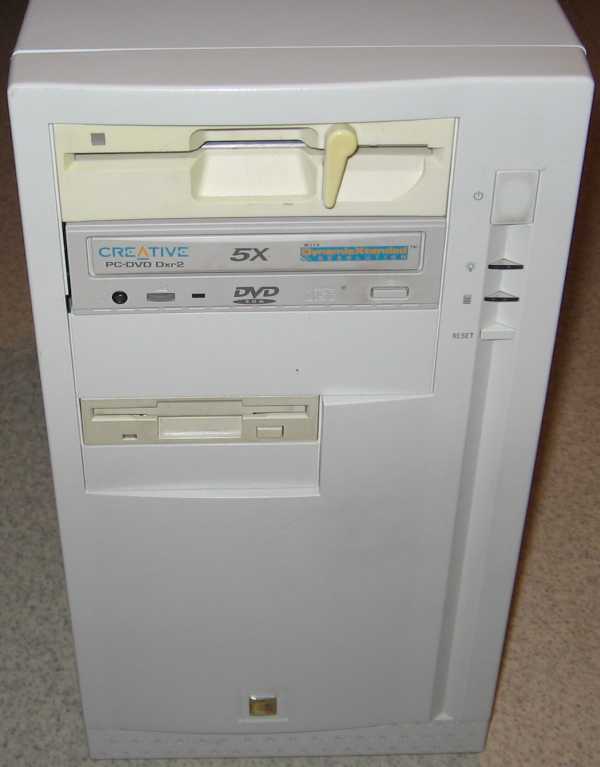
This InWin A500 mini tower case has a few nice features to it: the power supply is vertical instead of horizontal, which gives ample space for the power + serial connectors to the OC-118N and also it's old enough to take an AT power switch without modifications. The removable motherboard tray was perfect for this mod, as there's just enough room for the C-64 board with the IDE64 jutting out behind it.
So I dug out the Dremel and turned on the soldering iron..
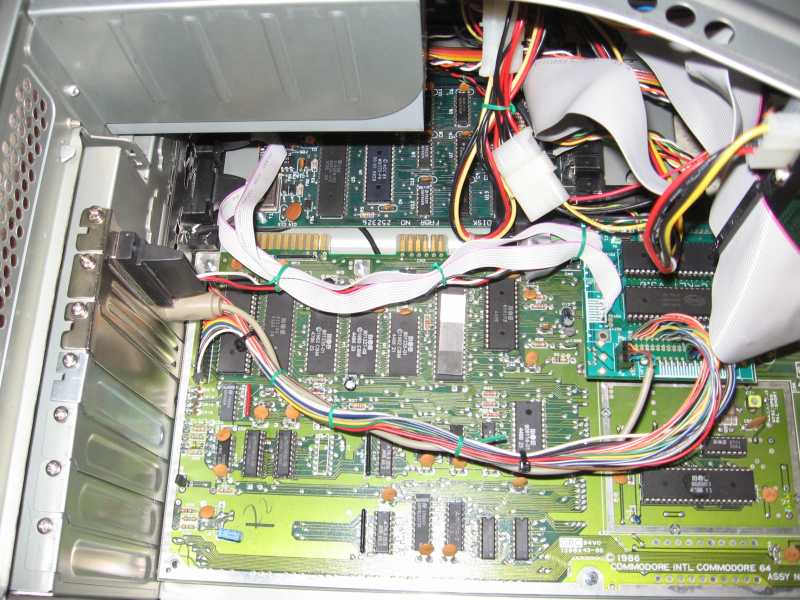
First I cut out most of the old ATX mounting points from the motherboard tray and mounted the C-64 motherboard an 1581 board.
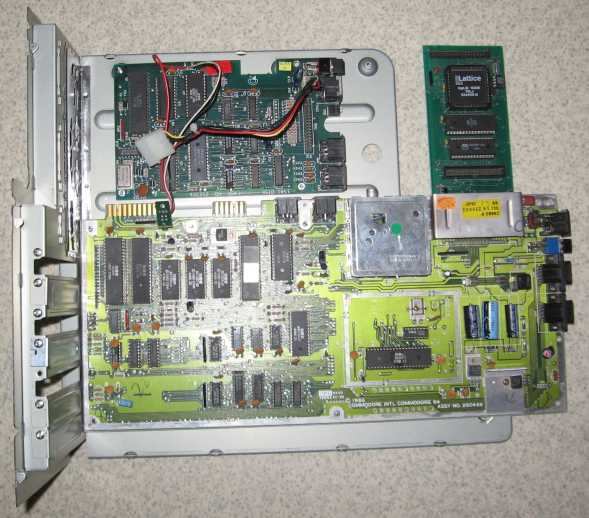
It was a tight fit, but such is life. I drilled holes in the tray and used bolts and nuts to mount the boards. The C-64's lower left mounting point and the 1581's upper left mount are original ATX mount points.
Then I added the mass storage devices and checked that everything still fits in the case.

Only just. ;-)
The OC-118N's mounting holes don't line up with the case at all, but there happened to be an additional threaded screw hole in the side of the 5.25" bay. I used a longer HDD thread screw in there and that pressed the OC in it's place. Another win for this case, by luck. :-)
Since the parts fit together to my satisfaction, I started to wire them all together.
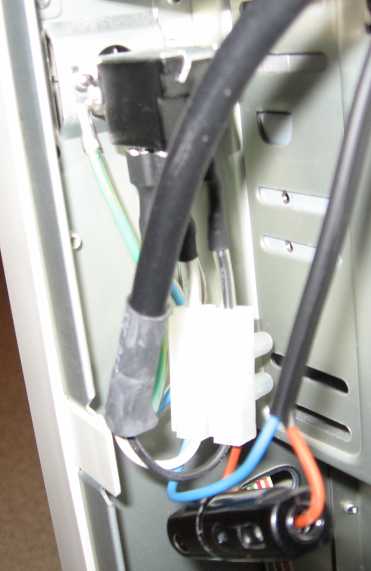
Fitting the AV connector was a real squeeze, so I used only the core part of the DIN connector.
I fabricated my own Y shaped IEC serial cable with an extra pair of wires going to the back panel for a drive reset button. The button is needed, because the drives only read the device number switch on reset.
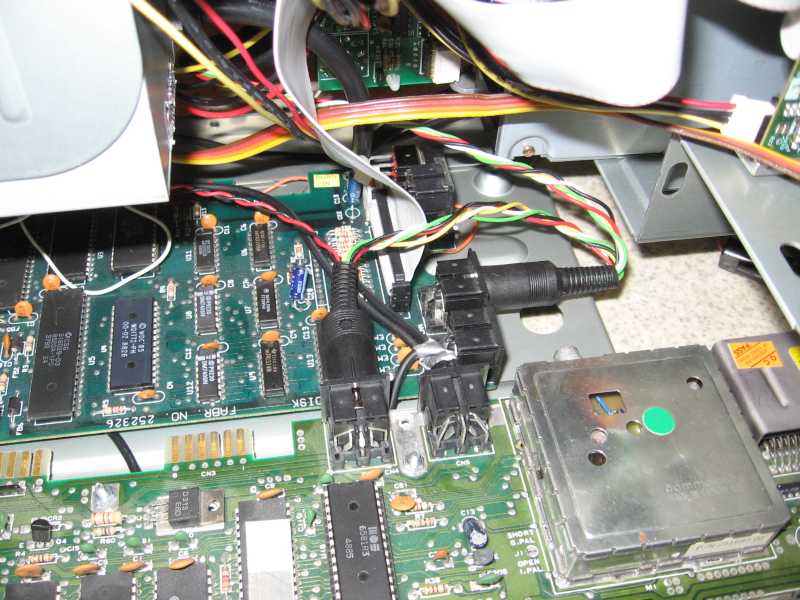
I took an old HDD power splitter cable, cut the other HDD connector off, and soldered the wires to a 5 pin DIN to feed power to the OC-118N. No clear picture, unfortunately, but you might be able to see it in the higher res pictures (link at the bottom of the page).
Ok, next up is the C-64's power supply. I briefly considered just jamming in a C-64 power brick, but I decided that it's too ugly and went for a custom solution.
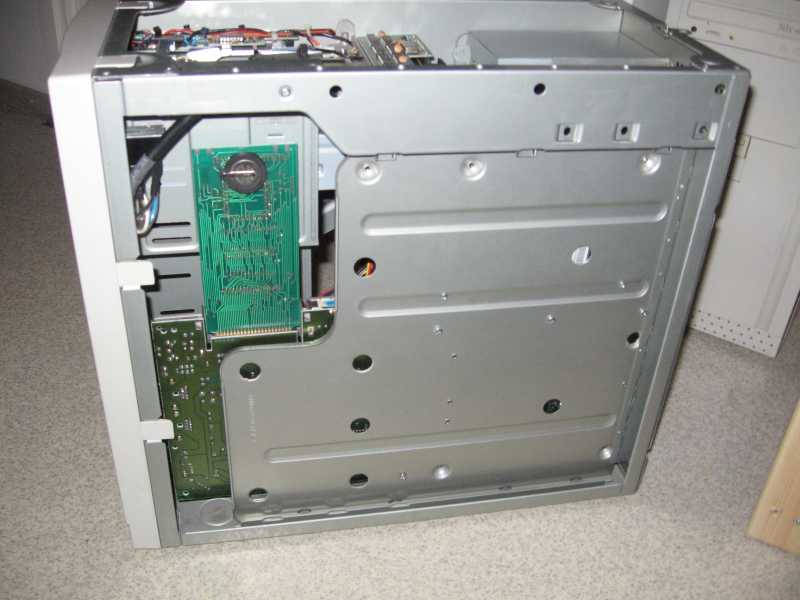
I had previously purchased a 9VAC transformer with this very project in mind, so in it went. This case had an extra 3.5" HDD bay next to the power supply, and this turned out to be a perfect mounting place for the transformer.

I cut the return wires from the AT power switch cable and added a connector block in between to get power to the transformer. I also added a separate fuse + holder here. Always add fuses when you're messing around with mains power, kids!
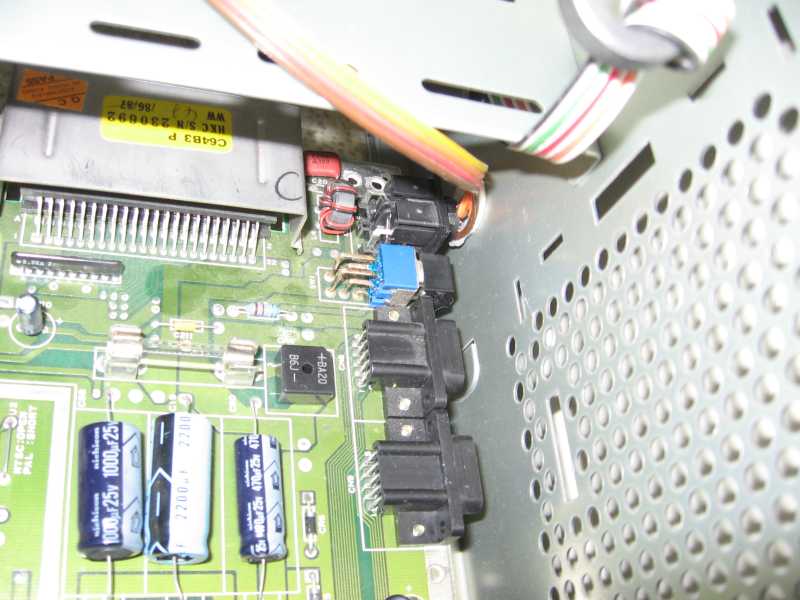
It was a tight fit for the C-64's power connector, so I used the core of a DIN connector again and added copious amounts of hot glue and a furniture leg felt pad for insulation. A bit ugly perhaps, but I didn't want to cut more holes into the case with the Dremel - it's not that much fun and produces a lot of metal dust.
You may wonder why didn't I just solder all the wires directly to the motherboard, but this way I can easily swap out almost all the modules if something breaks down.

The joystick ports are stranded in the front of the case with no extender cables. This was solved with the C=KEY 3.0 adapter that Jim Brain had designed.
I mounted the adapter onto the TV modulator with some double sided tape. The keyboard cable is of course from an old C-64 keyboard and the D connectors were saved from old AT cased PCs ages ago. Also the connectors for most of the switches and buttons are from old AT case front panel wiring looms. The small plastic connectors were perfect for this project. (Yeah, yeah, I'm a bit of a pack rat.. So your way of life is better and cleaner, sue me..)
The keyboard is a Mitsumi PS2 keyboard I sourced from eBay. This specific model has the same mechanism as most Amiga keyboards and as it happens, the C-128 keyboard.
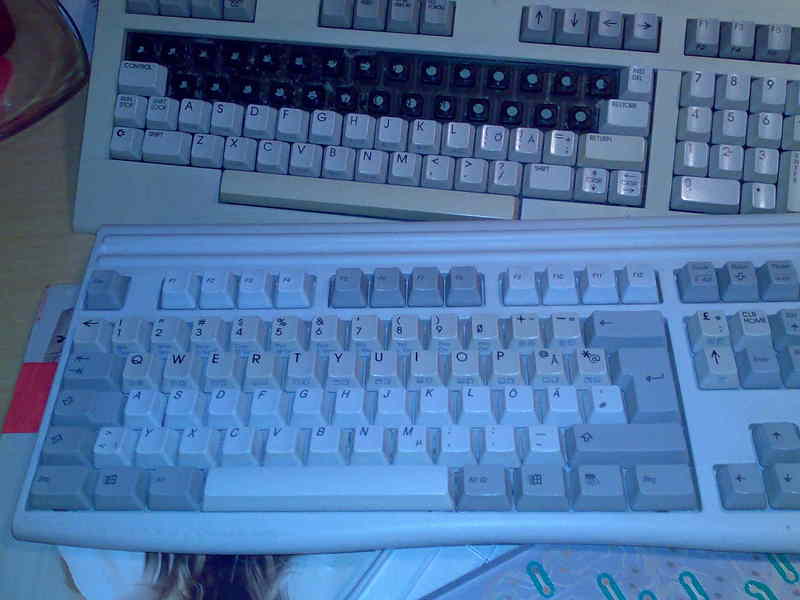
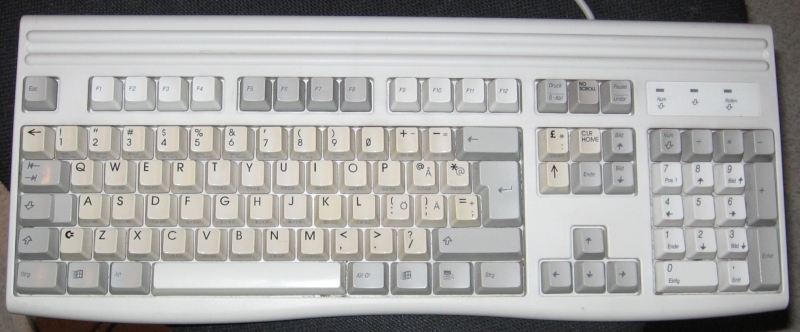
This doesn't map 1:1 to the original C=KEY keyboard mapping, but I'll make some modifications to the tables and post my mods here later on. For now it's usable enough.
The 1581 motherboard drives the 3.5" mechanism's access LED all the time, so I decided to remove it and add my own LEDs place behind the front panel. Now both the 1581 power and the access LEDs are visible at the 3.5" drive's front panel. The power led is important, because the 1581 flashes that when it's in an error state.
And that's it really.
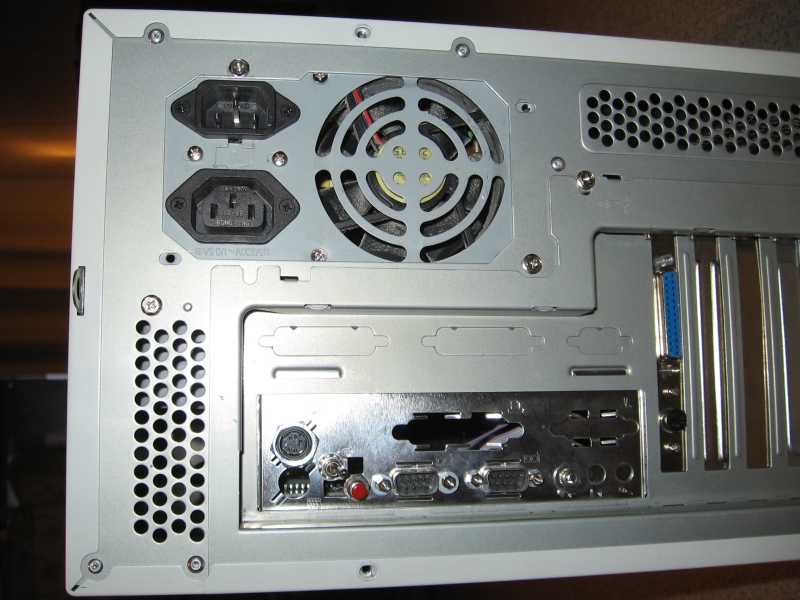
The ATX panel has S-Video out, the 1581/OC118 device swapper switch, a reset button, the joystick ports, a 3.5mm headphone jack for audio, a ps/2 connector for the keyboard and a D25F for the debug serial port in the C=KEY adapter.
Finally here's some raw pics for those who want high res.
10.2.2008